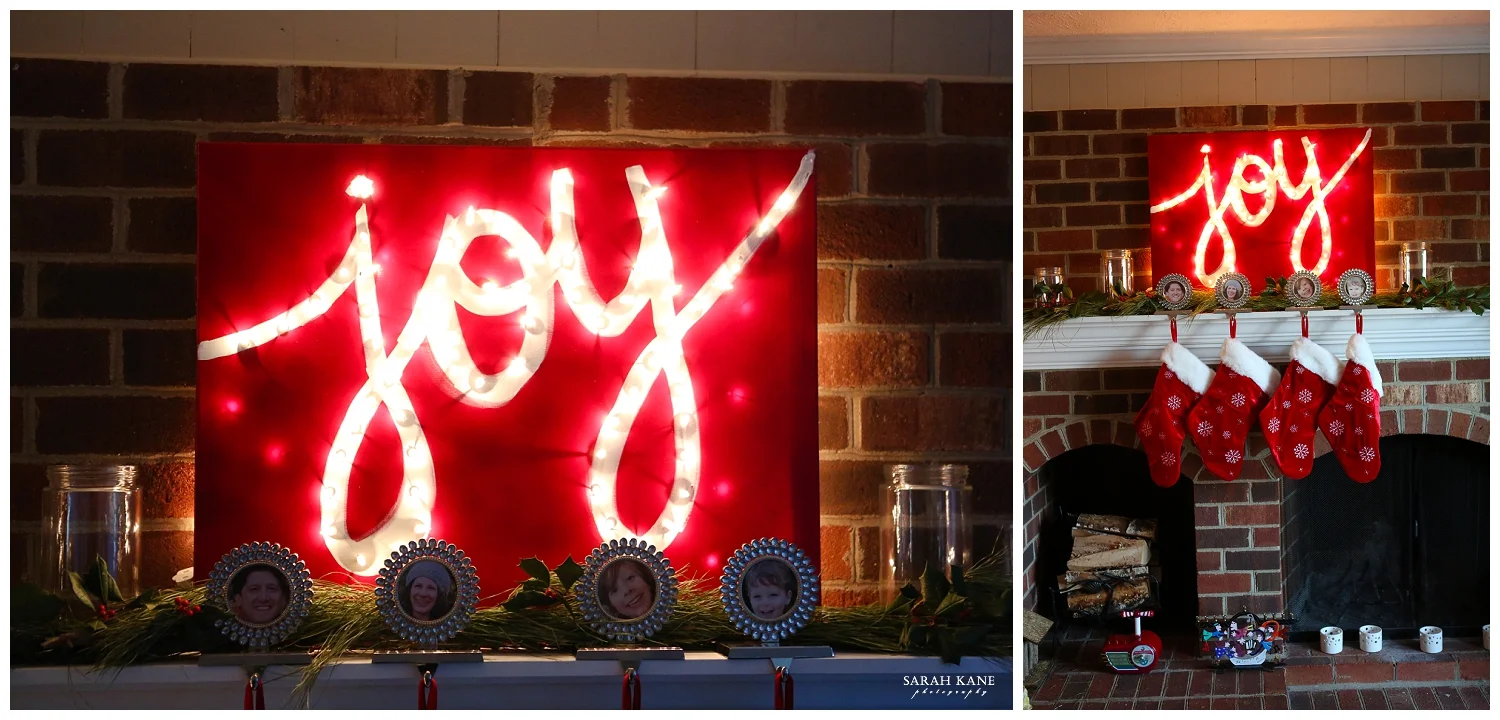
DIY Christmas decorations | Light up sign | Sarah Kane Photography
I love decorating my house for Christmas, but decorations can get pretty expensive. If you wait until after Christmas for the big sales typically all of the good stuff is gone! I learned to be very thrifty during my college years and still love a good bargain. What I love more than a good bargain is making something myself. I am a total DIY kind of girl and even if I won the lottery and struck it rich I would still make many of my own decorations!
I've been a crafting fool this last week! As the busy season of photography is coming to and end I finally have time to do something other than sitting at my computer editing, so I've been crafting like crazy! My favorite DIY Christmas decoration I made this year is my light up sign! I wanted to make it last year, but just couldn't find the time. Now that I've done it though it really wasn't difficult and didn't take too much time. All of the supplies I bought at Michael's, but you can get them at any craft store. Here's what you'll need:
Canvas
Paint (I used spray paint, but any paint will work)
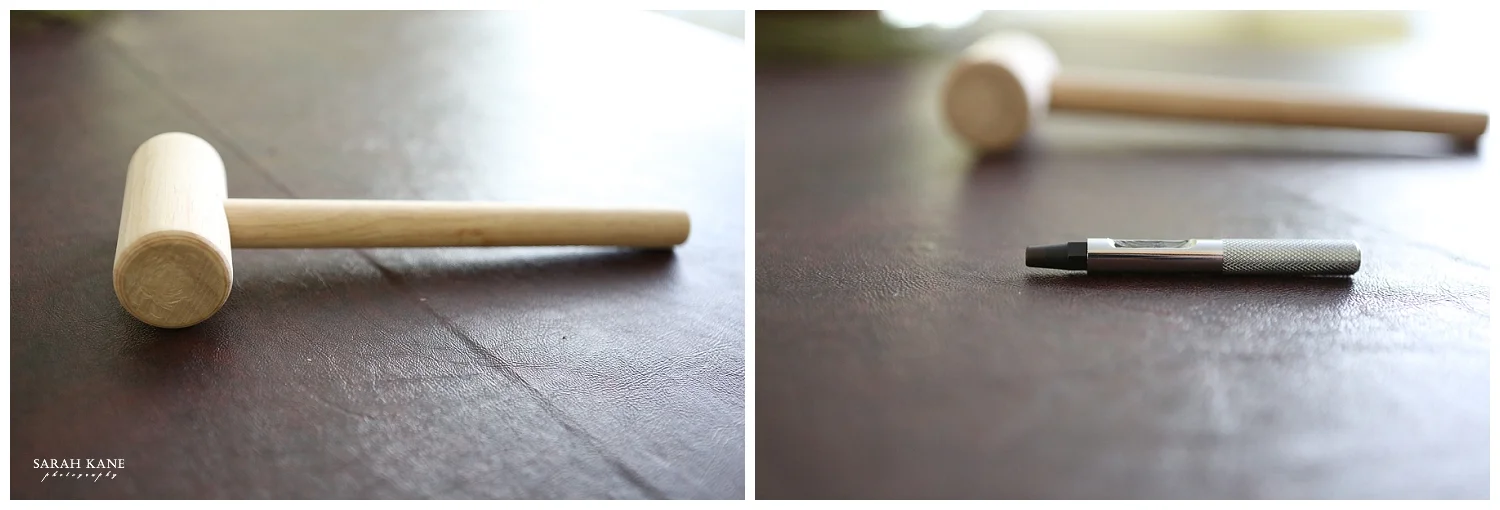
Mini leather punch set (click here to view)
Wooden mallet or small hammer
Christmas lights (you will need a long string of lights for this)
chalk
marker or pen
extension chord
a block of wood (to use under canvas while you punch the holds for the lights)
FIRST draw your word using a piece of chalk (one that will show through the back of the canvas when held in light). It's best to use chalk because it can easily wipe away if you make a mistake.
NEXT hold your canvas in light so you can see the chalk outline show through from the back of the canvas. Using a pen or marker mark dots where you will be punching your holes (make sure you measure how far apart your Christmas lights are and do not make holds larger than the length).
YOU want to punch the holes from the back of the canvas. Take your block of wood and slide it under where you will be punching the hole (do not use a plastic or wooden cutting board as the tool will hammer through them and you will be left with indents)
TO punch take your punching tool (use the tool closest to the size of the Christmas light. It will likely be just a tad too small, but we will fix this later). Hold the tool where you want to make the punch hole and then hit it a couple of times with the hammer or wooden mallet.
ONCE all of your holes are punched paint over the entire canvas. You will later paint the outline of the word back in using your holes as guides. My chalk outline actually still showed through with the spray paint so I was able to follow it more easily.
WHEN the all over paint is dry outline your word with white paint.
ONCE the white paint is dry it's time to place your lights in the punch holes. Very slowly twist the lights into the holes until they punch through (don't do this too hard as the canvas may split or tear).
YOUR DONE! Plug it in and enjoy!!


View some more holiday craft ideas below


